A Homeowner’s Guide to Photographing a Home Rebuild for Insurance and Records

Whether you’re rebuilding after a disaster or completing a major renovation, photographing the process as it unfolds is essential. Clear, well-organized photos provide valuable documentation for your insurance Claim, help confirm the quality of repairs, and create a transparent record of what’s behind your walls and under your floors.
This step-by-step guide walks you through how to effectively photograph your home rebuild—from Demolition to completion—with examples, best practices, and common mistakes to avoid.
Step 1: Photograph Before Construction Begins
Before the rebuild gets underway, take time to photograph the existing conditions—even if partial demolition has already occurred.
Capture all rooms, exterior walls, and any remaining damage.
Get wide shots of each area and close-ups of problem areas (e.g., cracked Foundation, exposed wiring).
These “before” photos will serve as your baseline for tracking progress.
Examples:
A wide shot of a gutted kitchen
A close-up of moldy Drywall before removal
The current condition of floors, ceilings, and exposed Framing
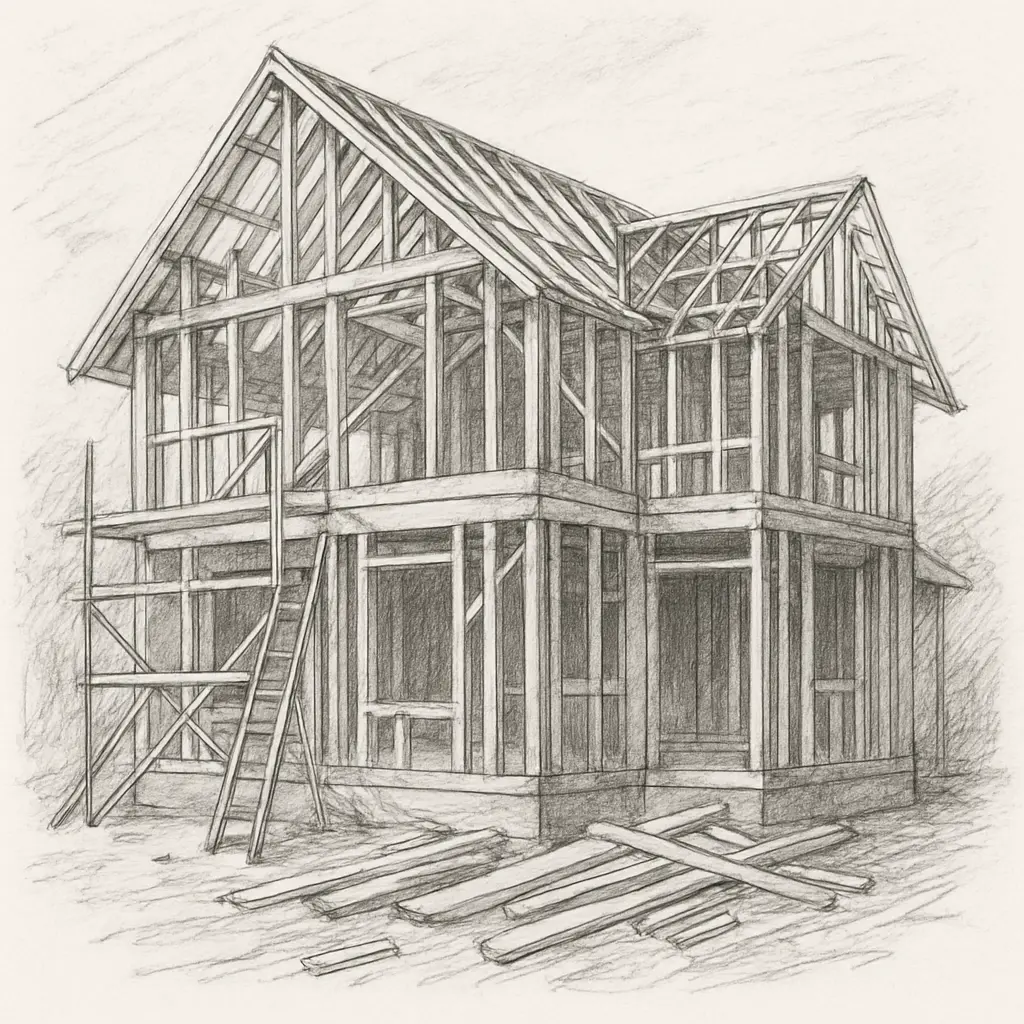
Step 2: Capture Each Stage of the Rebuild
Document the full progression of construction, especially before materials are sealed or covered.
Photograph each step in order—framing, Plumbing, electrical, Insulation, drywall, painting, and finish work.
This provides proof of what’s inside your walls and shows that the work was done to code.
Examples:
Wall studs and electrical wiring before drywall is installed
Insulation placed between studs
Flooring underlayment prior to new floors
Consider taking weekly progress photos from the same angle for consistency.
Step 3: Use Wide Shots to Show Full Rooms
As each stage is completed, take wide shots that capture the entire space from corner to corner.
Examples:
Standing in the doorway of a new bathroom to show layout
Capturing the full kitchen from opposite corners
Wide exterior shots showing siding, roofing, or landscaping updates
These images help visualize the transformation and support any future warranty or claim issues.
Step 4: Take Detailed Photos of Workmanship
Zoom in to show the quality of craftsmanship and materials used at each stage.
Examples:
Close-up of tile work or cabinetry installation
Photo of brand/model label on HVAC, water heater, or appliances
Documentation of under-slab plumbing or waterproofing before it’s buried
If work involves specialty materials, snap photos of packaging or installation instructions.

Step 5: Photograph Contractor Labels, Receipts, and Serial Numbers
Document all major installations by photographing identifying information.
Examples:
Serial number on the new furnace
Sticker from the electrical panel or breaker box
Brand/model label on windows, doors, or appliances
If you receive receipts or warranties, photograph or scan those as well.
Step 6: Include Time and Date References
Most modern phones timestamp photos, but adding extra verification can help:
Take a photo of a newspaper or dated Invoice next to the construction area
Record a short video explaining what stage of the rebuild you're documenting
Save all photos in date-named folders (e.g., “Week 3 – Framing Complete”)
This is especially useful if you need to track delays or prove timelines to your insurer.
Step 7: Organize and Upload Your Photos
Upload photos of your rebuild process to Loti to keep everything documented and organized. They’ll be stored by room or area in your Property tab, making it easy to track progress, share updates, and support your claim if needed.
Step 8: Save Final “After” Photos Once Work Is Complete
Once construction is finished, take high-quality photos of every finished room and exterior space. These images document the condition of your home post-rebuild and can serve as your new insurance inventory baseline.
Examples:
A wide shot of the completed living room
Close-ups of appliances, flooring, or built-in shelving
Updated exterior showing roof, siding, and yard
Wrap-Up
Rebuild documentation isn’t just for insurance—it’s a powerful tool for peace of mind. By photographing each stage of your home’s rebuild clearly and consistently, you create a trustworthy record of the work done and protect your investment for years to come.
With Loti, you can securely store your rebuild photos, link them to room layouts and product warranties, and keep everything organized in one place. Whether you're managing the project yourself or working with a contractor, we’re here to help every step of the way.
Your rebuild tells a story—make sure it’s documented well.