A Homeowner’s Guide to Photographing the Exterior and Structure of Your Home
Your home’s exterior is its first line of defense—and also one of the most important areas to document before any disaster strikes. Insurance claims involving wind, fire, hail, flooding, or vandalism often hinge on being able to prove the condition of your roof, siding, windows, and structural features before the damage occurred.
This step-by-step guide walks you through how to photograph your home’s outside and structural elements with clarity and consistency—so you’re fully protected if you ever need to file a Claim.
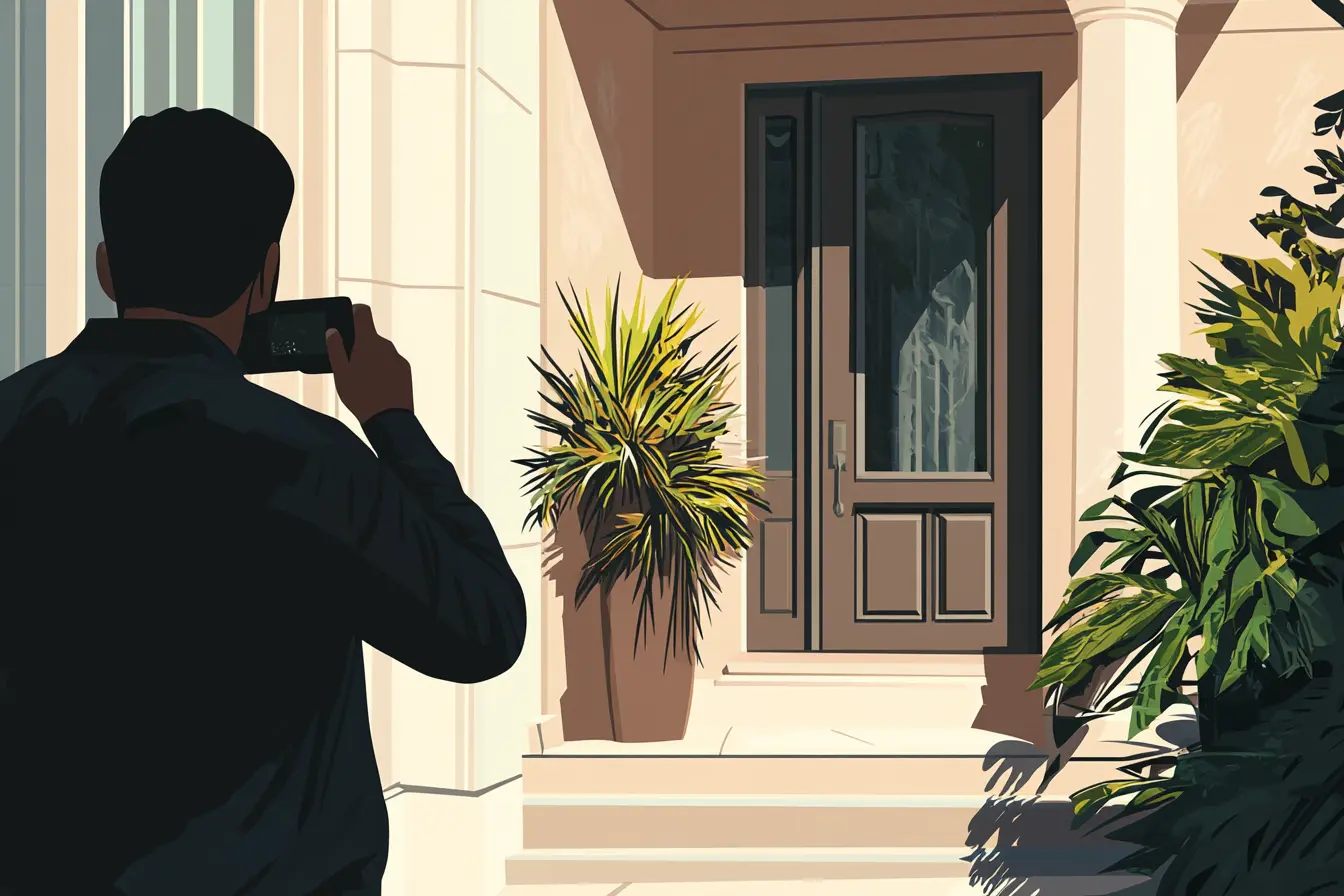
Step 1: Take Wide Shots of Each Side of the House
Begin by photographing your home’s exterior from all angles.
Tips:
Step back far enough to capture the full height and width of the house
Take one wide shot of each side: front, back, left, and right
Include any attached garages, decks, or porches
What it helps with:
Establishes overall condition before a fire, storm, or tree fall
Shows paint, siding, roofing, gutters, windows, and doors
Supports claims for collapsed structures or exterior vandalism
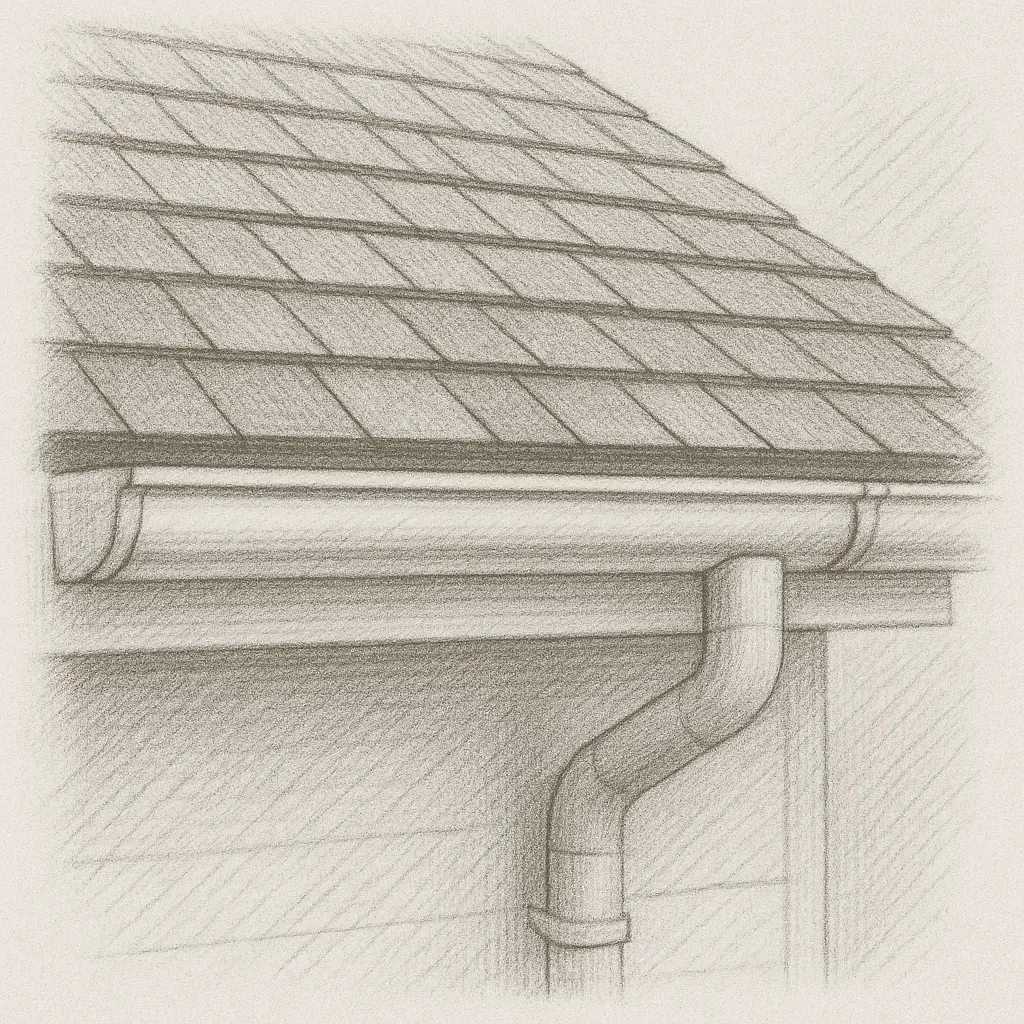
Step 2: Photograph the Roof and Gutters
Use safe methods to document your roof’s condition clearly.
Options:
Take photos from the ground at an angle to show Shingle condition
Photograph from a ladder or second-story window (if safe)
Use a drone or ask your roofer for before/after images if recently inspected
Focus on:
Shingles or tile condition
Flashing, chimneys, skylights
Clean gutters and downspouts
Tip: Take roof photos at least once a year and after major weather events, even if no damage is obvious.
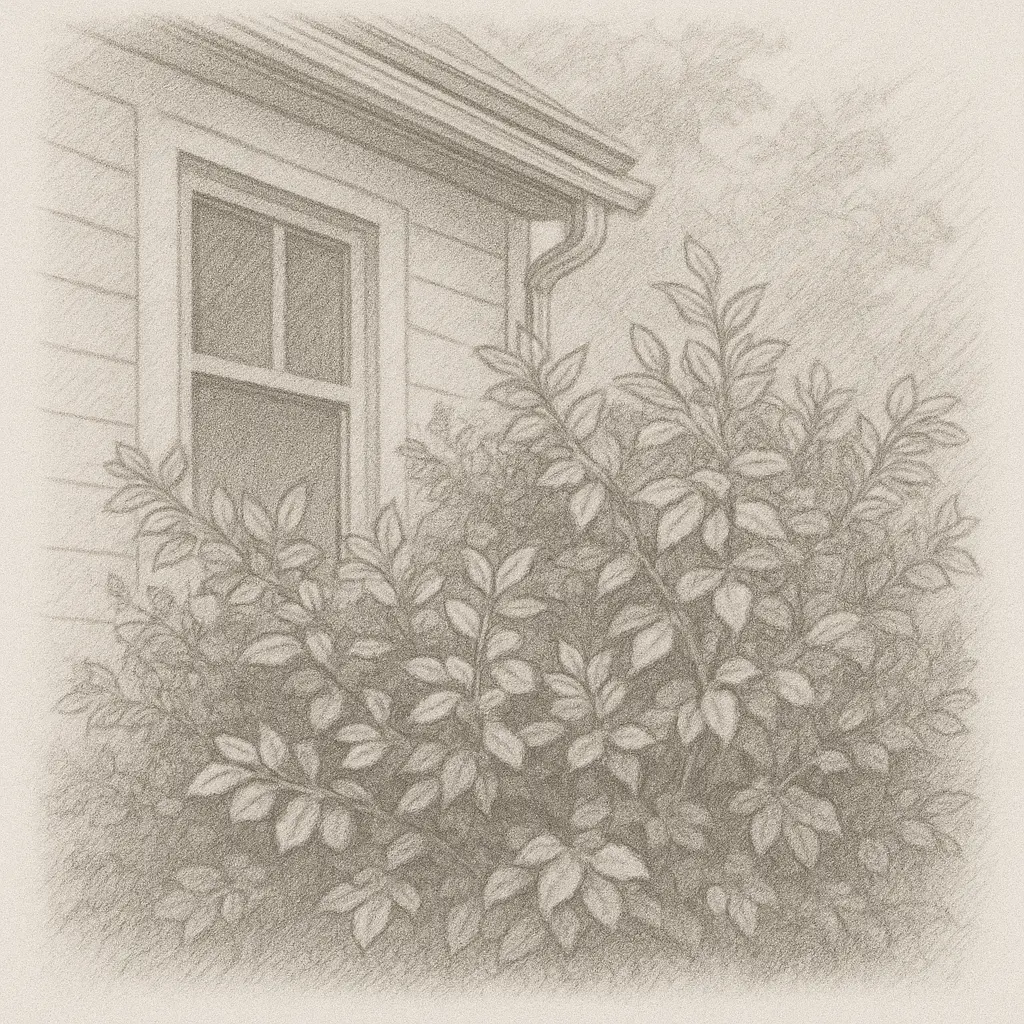
Step 3: Zoom In on Vulnerable Features
Damage often starts with the smallest exterior elements. Photograph these in close detail.
Examples:
Window frames and seals
Doors, thresholds, and trim
Exterior vents, pipes, and utility boxes
Foundation lines and Crawlspace access
These photos provide a visual benchmark for wear and tear versus new damage.
Step 4: Document Outbuildings, Fences, and Hardscaping
Don’t forget to include structures and features outside your main home.
Include:
Detached garages, sheds, pool houses
Fences, gates, retaining walls
Patios, Pavers, driveways
Pools, hot tubs, decks, or outdoor kitchens
For each:
Take a wide shot of the full structure or space
Get close-ups of materials, finishes, and unique features
Photograph any mechanical systems (e.g., pool pump, Security Lighting)
Step 5: Capture Landscaping and Trees
If you’ve invested in landscaping or large trees, document them clearly. These can be covered under “Other Structures” or “Yard Improvements” in some policies.
Tips:
Photograph the entire yard from multiple angles
Include large trees, garden beds, stonework, and fencing
Take close-ups of expensive features (e.g., irrigation systems, lighting)
Be sure to document the current health and size of trees, especially if they are near the house.
Step 6: Use a Time and Date Reference
As with all documentation, proving when the photo was taken is essential.
Ways to verify date:
Take a photo of your house with a current newspaper in frame
Use your phone’s timestamp metadata
Record a short walkthrough video with a verbal date (“Taken on June 10, 2025”)
Step 7: Organize and Store Your Photos Safely
Keep your photos secure and accessible in case you need them after a disaster.
Recommended storage:
Upload to a cloud platform (Google Drive, Dropbox, etc.)
Use Loti’s platform to store by category or location
Save a backup copy to an external drive or USB
Suggested categories:
Structure – Front, Back, Left, Right
Roof & Gutters
Windows & Doors
Outbuildings & Features
Landscaping & Trees
Rename files for easy reference (e.g., SouthWall_Siding_June2025.jpg).
Step 8: Update Photos After Repairs or Major Weather Events
Keep your records current by updating your photos:
Once per year as part of your home maintenance routine
After repairs or renovations
Following extreme weather, even if no visible damage is present
These updated photos can help prevent claim denial based on pre-existing conditions.
Wrap-Up
Photographing the outside and structure of your home is one of the most overlooked—but most important—steps in insurance preparedness. It protects your claim and ensures you’re not left guessing about the condition of your home before a loss.
With Loti, you can store these exterior photos securely, organize them by area or system, and retrieve them instantly if disaster strikes. Our platform makes it easy to stay ready—before you ever need to be.
Strong claims start from the outside in. Start documenting today.