A Homeowner’s Guide to Photographing Personal Property

One of the smartest steps you can take to protect your home and belongings is to photograph your personal property before anything goes wrong. Whether it’s fire, theft, or natural disaster, clear and complete images help you prove ownership, value, and condition—so your insurance Claim is processed faster and more accurately.
This step-by-step guide walks you through how to photograph your belongings properly, with examples, best practices, and simple tips to create a solid visual inventory.
Step 1: Photograph High-Value Items First
Start with the belongings that would be most expensive—or most difficult—to replace.
Examples:
Jewelry, watches, and luxury accessories
Electronics like TVs, laptops, gaming consoles
Fine art, collectibles, or antiques
Power tools or specialty equipment
Designer clothing, handbags, and shoes
What to Include:
Close-up photo of the item
Any identifying label, logo, or serial number
If possible, include receipts, appraisals, or warranty cards in the frame
Step 2: Take Mid-Range and Contextual Shots
Help insurers understand where the item was stored or used in your home.
Tips:
Stand a few feet back to show the item in its room or setting
Photograph entire shelves or display cases to show groupings
Include furniture or Storage Containers as background references
Example:
A laptop photographed on a home office desk, followed by a close-up of its serial number on the underside.
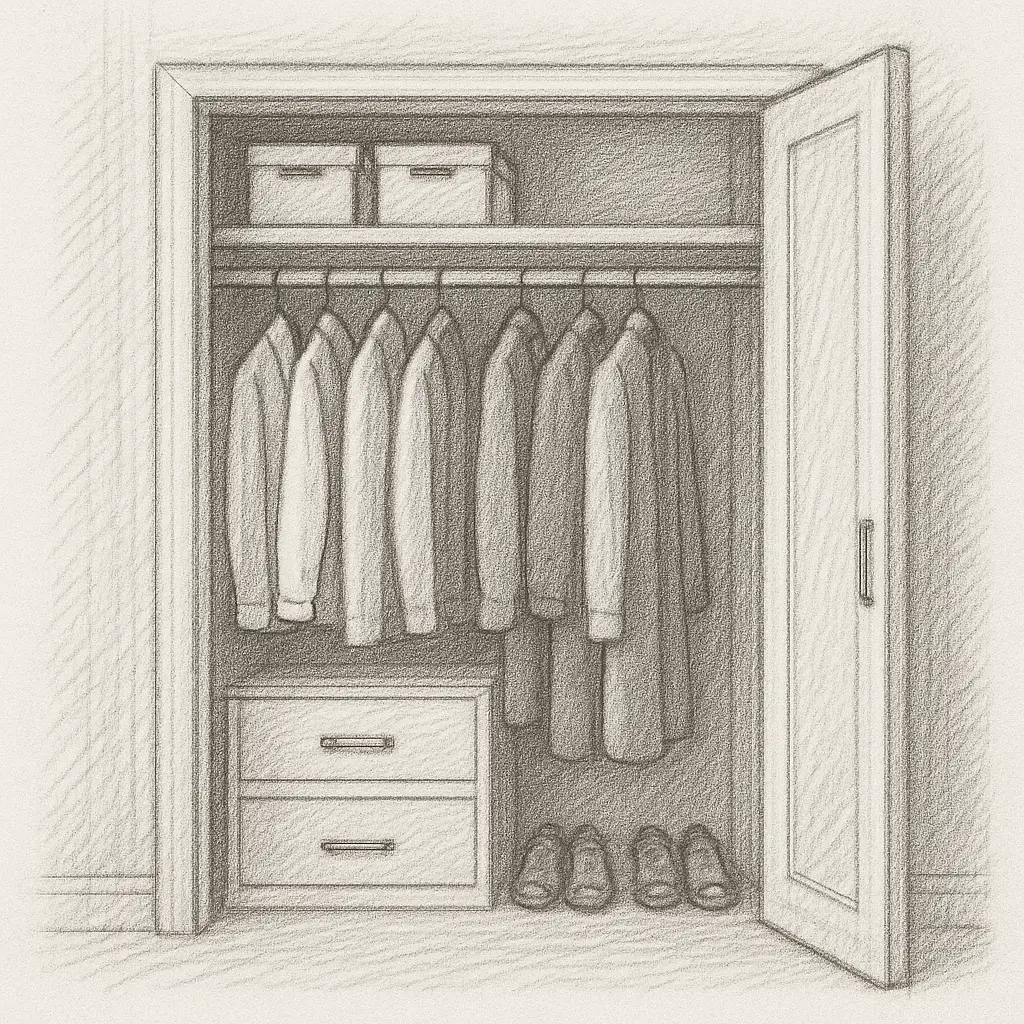
Step 3: Open Drawers, Cabinets, and Closets
Showcase personal property that’s stored out of sight.
Examples:
Kitchen cabinets: cookware, dishes, small appliances
Bedroom drawers: jewelry, clothing, accessories
Garage or storage: tools, camping gear, sports equipment
Closets: suits, outerwear, seasonal items, shoes
You don’t need to capture every single item. The goal is to demonstrate the type and volume of your possessions.
Step 4: Capture Entire Collections or Sets
Photograph items that are part of a set or series to establish completeness.
Examples:
A full bookshelf showing a rare book collection
A row of guitars, cameras, or instruments
Matching furniture sets or dishware
This helps avoid disputes about partial losses and supports higher-value claims.
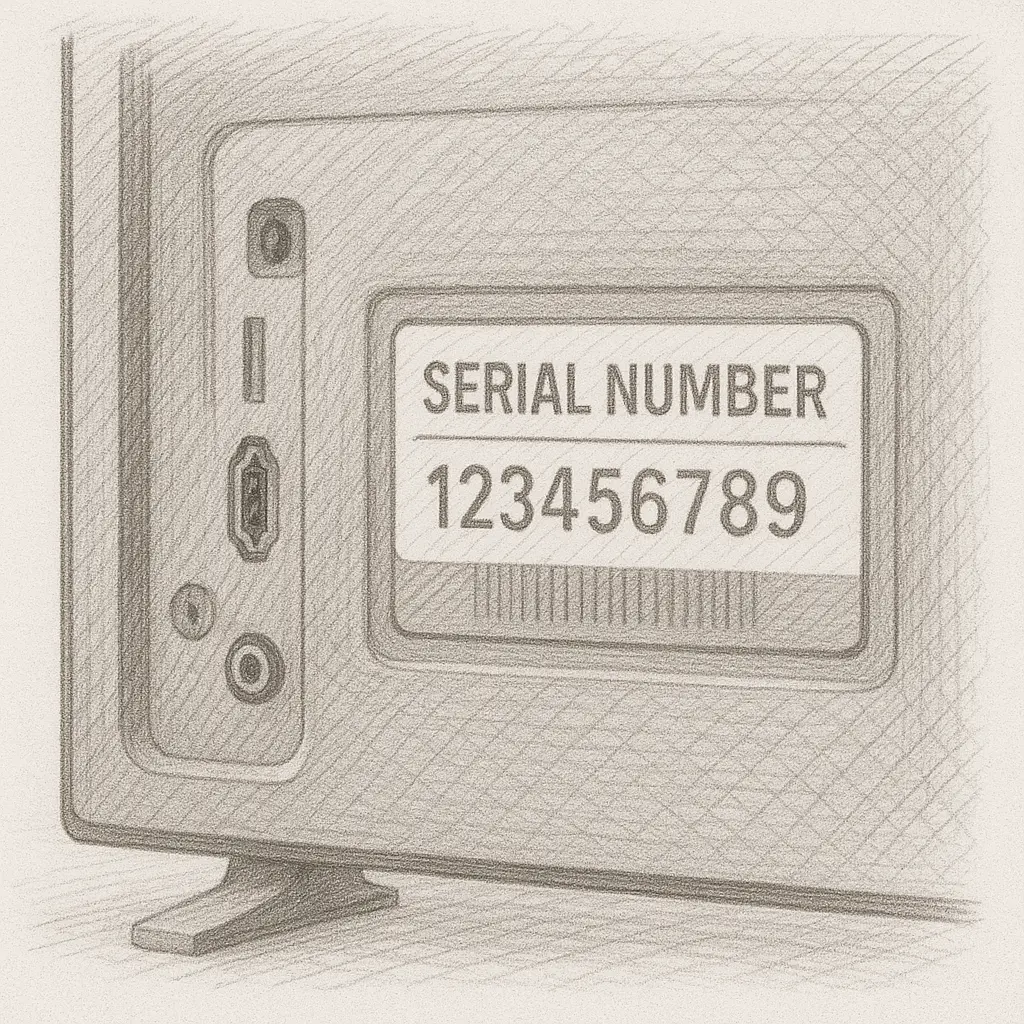
Step 5: Document Serial Numbers and Brand Labels
Many electronics, appliances, and luxury items have unique identifiers. Photograph them clearly.
Examples:
Serial number on the back of a TV or stereo system
Engraved watch model number
Tag inside a designer handbag or coat
If available, also photograph manuals, receipts, or certificates that came with the item.
Step 6: Use Time Stamps for Proof of Date
Most smartphones and cameras automatically store timestamps in the photo file. You can add further verification by:
Photographing a dated document (like a newspaper or utility bill) next to key items
Narrating a video walkthrough with a verbal timestamp
Naming your image files with the date included (e.g.,
TV_LivingRoom_June2025.jpg)
This proves your photos were taken before any loss occurred.
Step 7: Organize Photos by Room or Category
Keep things simple and accessible by sorting photos clearly. You can do this in folders or in a platform like Loti.
Suggested categories:
Electronics – TVs, computers, tablets
Jewelry & Valuables – Watches, rings, art, collectibles
Kitchen & Dining – Appliances, cookware, china
Living Areas – Furniture, decor, rugs
Storage – Garage tools, seasonal items, hobby gear
Use clear filenames like Kitchen_StandMixer_Serial.jpg instead of IMG_0032.jpg.
Step 8: Update Your Photo Records Regularly
To keep your documentation accurate:
Photograph new purchases right away
Do a full walk-through once a year
Update files after major life events like moving, renovations, or large purchases
Even 30 minutes a year can save you hours—or thousands of dollars—later on.
Wrap-Up
Photographing your personal property before a disaster happens gives you a powerful head start if you ever need to file a claim. It proves what you owned, where it was, and what it was worth.
With Loti, you can upload and organize your property photos securely, link them to receipts or serial numbers, and stay ready for anything. If you need help building your inventory or filing a claim, our team is here to assist.
A picture is worth more than 1,000 words—it could be worth your full reimbursement.