Understanding the Role of Shed Installers in Home Construction Projects: Materials, Tasks, Tools, Terms, and What to Expect

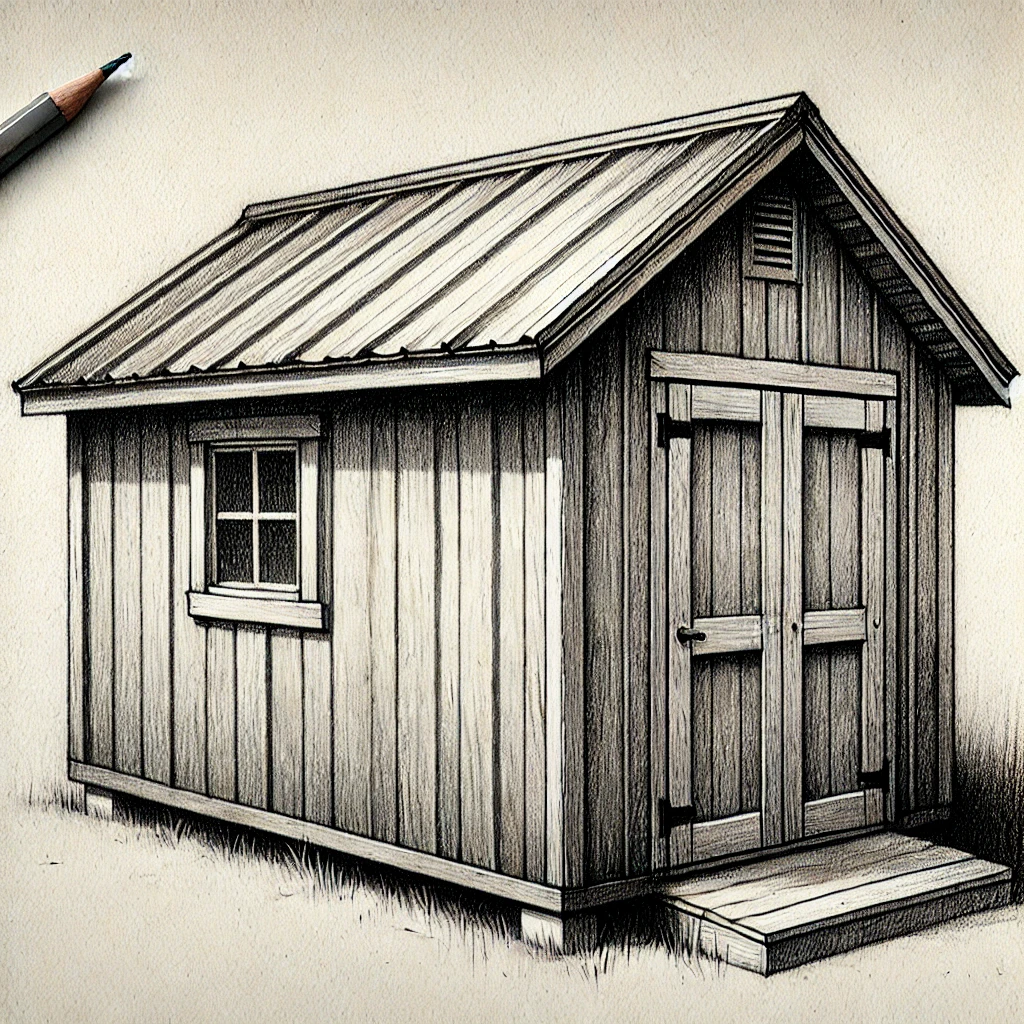
Sheds are versatile structures that provide additional storage space, a workshop area, or even a home office. Whether you're looking to add a simple Garden Shed or a more elaborate structure, working with professional shed installers ensures that your shed is built to last, meets your needs, and complements your home.
This article provides a comprehensive overview of the materials, tasks, tools, and terminology associated with shed installation, as well as what homeowners can expect when working with shed installers on their construction project.
1. Materials Used by Shed Installers
Shed installers work with a variety of materials depending on the type, purpose, and desired aesthetic of the shed. Common materials include:
Wood: Wood is a traditional and popular material for sheds due to its natural appearance and versatility. Common types of wood used include pressure-treated lumber, Cedar, Pine, and redwood. Wooden sheds can be customized with different finishes, trims, and roof styles.
Metal: Metal sheds are typically made from Galvanized Steel or aluminum, offering durability and resistance to pests and fire. Metal sheds require minimal maintenance and are often used for storage due to their robust construction.
Vinyl: Vinyl sheds are made from high-density polyethylene (HDPE) or similar plastics. These sheds are resistant to rot, insects, and weathering, making them a low-maintenance option. Vinyl sheds are available in various colors and styles, often mimicking the appearance of wood.
Resin/Plastic: Resin sheds, also known as plastic sheds, are made from a durable polymer that is resistant to UV rays, moisture, and impact. Resin sheds are lightweight, easy to assemble, and require little maintenance. They are available in various colors and styles.
Composite Materials: Composite sheds combine wood fibers and plastic resins to create a material that offers the appearance of wood with the durability of plastic. Composite sheds are resistant to rot, insects, and weathering.
Concrete: Concrete is often used for the shed Foundation, providing a stable, level base that supports the structure. Concrete can also be used for constructing more permanent sheds or adding structural elements like walls.
Roofing Materials: Shed roofs are typically covered with materials such as Asphalt Shingles, metal panels, corrugated plastic, or rubber membranes. The choice of roofing material depends on the desired durability, weather resistance, and aesthetic appeal.
Insulation: If the shed is intended for use as a workspace or office, insulation materials such as Fiberglass, foam board, or spray foam may be used to improve Energy Efficiency and comfort.
Windows and Doors: Windows and doors for sheds can be made from wood, metal, vinyl, or composite materials. The choice of windows and doors depends on the intended use of the shed and the level of security and insulation required.
2. Tasks Performed by Shed Installers
Shed installers perform a range of tasks to ensure that your shed is properly constructed, durable, and meets your specific needs. Key tasks include:
Site Assessment and Preparation: The first step in shed installation is assessing the site where the shed will be built. The installer will evaluate the ground conditions, Slope, drainage, and access to ensure that the site is suitable for construction. The area may need to be cleared, leveled, and prepared for the foundation.
Foundation Installation: A stable foundation is essential for the longevity and stability of the shed. Depending on the type of shed and ground conditions, the installer may construct a Concrete Slab, a Gravel pad, or a timber base. The foundation must be level and properly anchored to support the structure.
Framing and Structure Construction: The installer will construct the frame of the shed, which includes the walls, roof, and floor. This task involves cutting and assembling the materials according to the shed design, ensuring that the structure is square, level, and plumb.
Roof Installation: After the frame is completed, the installer will construct and install the roof. This involves attaching the roof trusses or rafters, installing the Roof Decking, and covering it with the chosen roofing material. Proper roof installation is crucial for protecting the shed from the elements.
Siding and Exterior Finishing: The exterior of the shed is finished with siding, Trim, and any decorative elements. Siding materials can include wood, vinyl, metal, or composite materials. The installer will ensure that the siding is properly attached and sealed to prevent moisture infiltration.
Door and Window Installation: The installer will install doors and windows according to the shed design. This task involves framing the openings, attaching the doors and windows, and ensuring they are properly aligned and sealed.
Insulation and Interior Finishing: If the shed is intended for use as a workspace, office, or living area, the installer may add insulation, Drywall, and interior finishes. This step helps improve energy efficiency, comfort, and aesthetics.
Electrical and Plumbing Installation: For sheds that require electricity or plumbing, the installer will work with licensed electricians and plumbers to install wiring, outlets, lighting, and plumbing fixtures. This task includes connecting the shed to the main electrical and Water Supply systems.
Painting and Staining: The exterior and interior of the shed may be painted or stained to protect the materials and enhance the appearance. The installer will apply the chosen finish and ensure that all surfaces are properly coated.
Final Inspection and Cleanup: After the shed is constructed, the installer will conduct a final inspection to ensure that all components are properly installed and that the structure meets the homeowner’s expectations. The work area will be cleaned up, and any debris or excess materials will be removed.
3. Tools and Equipment Used by Shed Installers
Shed installers use a variety of specialized tools and equipment to perform their tasks efficiently and accurately. Common tools include:
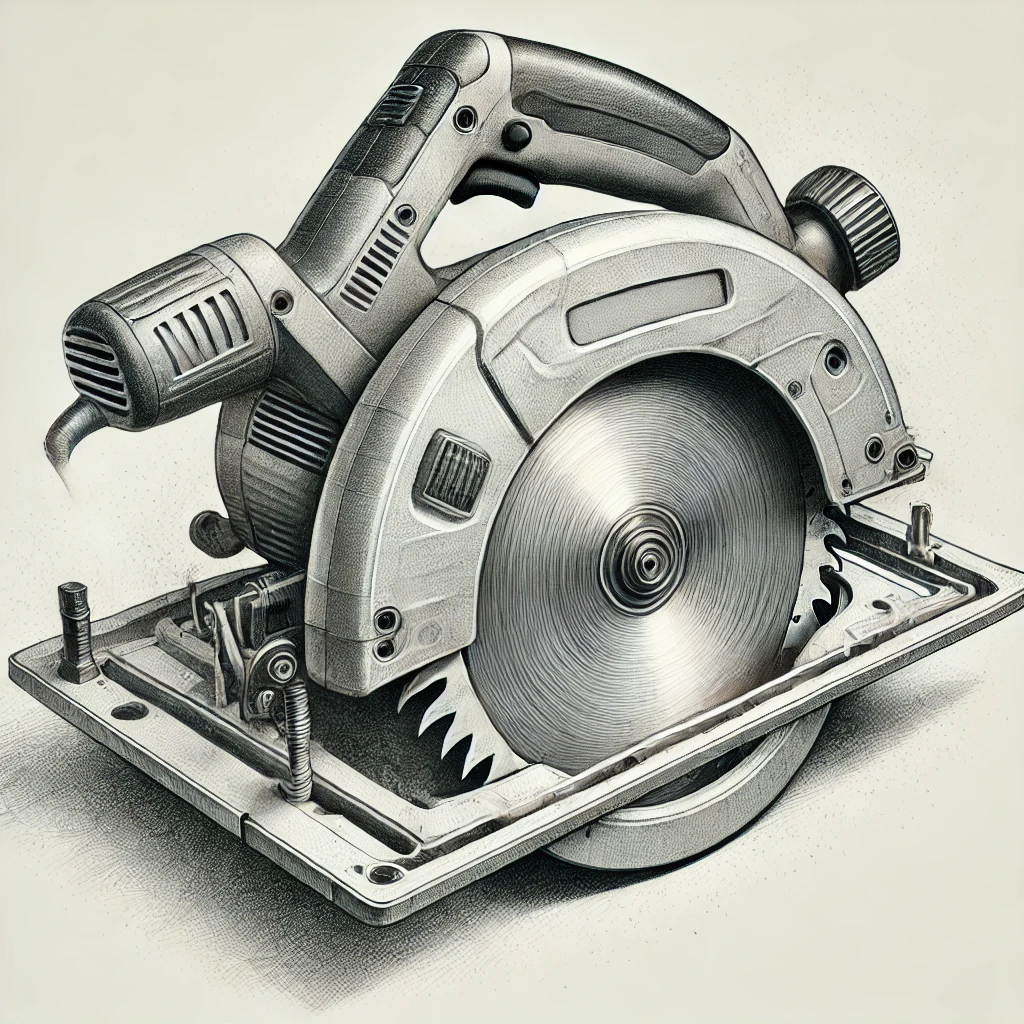
Power Saws: Power saws, including circular saws, miter saws, and jigsaws, are used to cut wood, metal, and composite materials to size. These saws are essential for framing, siding, and roofing tasks.
Drills and Drivers: Cordless drills and impact drivers are used to drive Screws, bolts, and Fasteners. They are essential for assembling the frame, attaching siding, and installing doors and windows.
Levels and Measuring Tools: Levels, measuring tapes, and squares are used to ensure that all components of the shed are square, level, and accurately measured. Proper measurements are crucial for a stable and visually appealing structure.
Nail Guns: Pneumatic or battery-powered nail guns are used to quickly and securely attach framing, siding, and roofing materials. Nail guns save time and provide consistent fastening compared to manual nailing.
Hammers and Mallets: Basic hand tools like hammers and mallets are used for driving Nails, aligning components, and making adjustments. Hammers are also used for tasks like installing framing anchors and securing hardware.
Ladders and Scaffolding: Ladders and scaffolding provide safe access to higher areas of the shed, such as the roof and upper walls. They are essential for installing roofing, siding, and trim.
Caulking Guns: Caulking guns are used to apply sealant around windows, doors, and joints to prevent moisture infiltration and improve insulation. Proper sealing is crucial for Weatherproofing the shed.
Concrete Mixers and Trowels: For sheds with concrete foundations, mixers are used to prepare the concrete, while trowels are used to smooth and level the surface. Proper foundation work is essential for the shed’s stability.
Screwdrivers and Wrenches: Hand tools like screwdrivers and wrenches are used to assemble hardware, install Hinges, and make adjustments. These tools are essential for detailed work and finishing tasks.
Painting and Finishing Tools: Paintbrushes, rollers, and sprayers are used to apply paint, Stain, or protective coatings to the shed. Proper finishing helps protect the shed from the elements and enhances its appearance.
4. Common Terms Used by Shed Installers
Understanding the terminology used by shed installers can help homeowners communicate more effectively and understand the processes involved in their project. Common terms include:
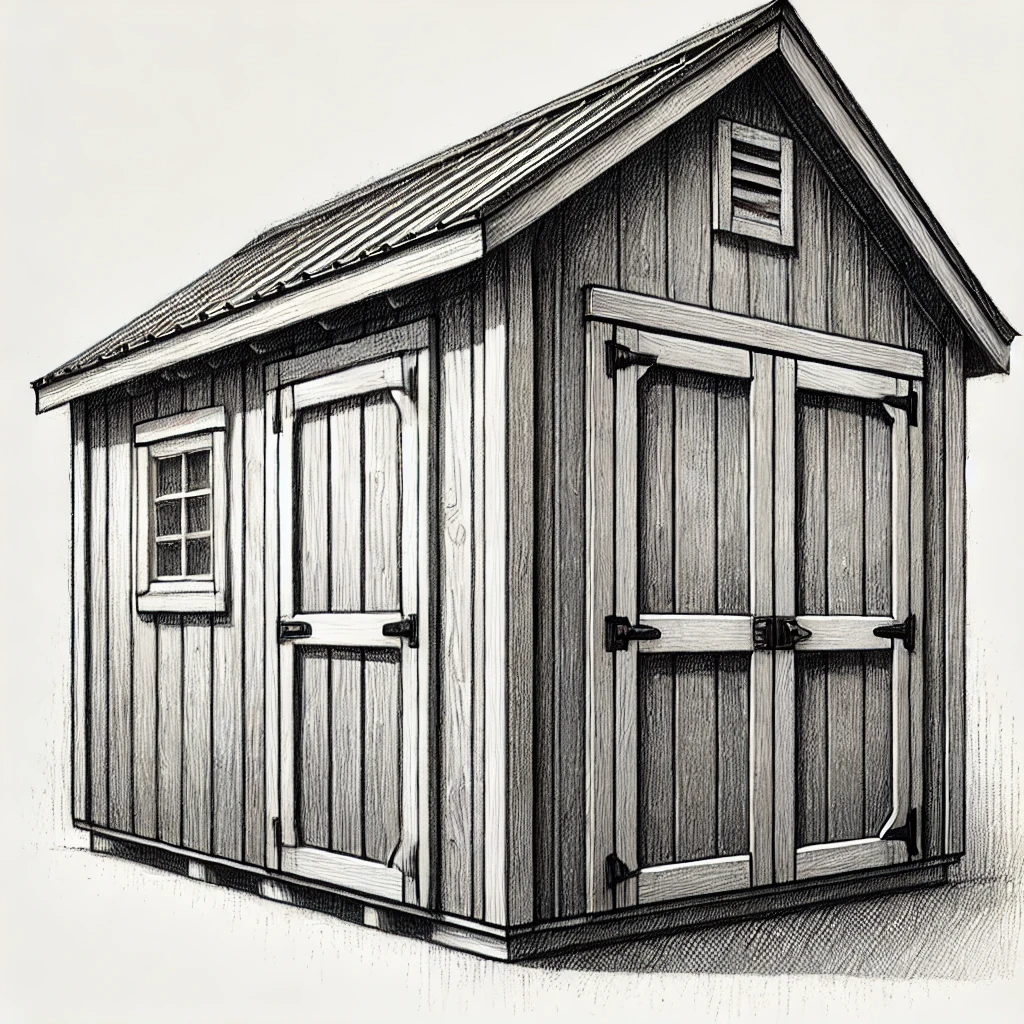
Gable Roof: A common roof style with two sloping sides that meet at a Ridge. Gable roofs are simple to construct and provide good Ventilation and attic space.
Hip Roof: A roof with four sloping sides that meet at a ridge. Hip roofs are more complex to build than gable roofs and are often used for sheds that require additional stability and Wind Resistance.
Rafters: The sloped structural beams that support the roof. Rafters are an essential component of the roof frame and are typically spaced evenly across the width of the shed.
Trusses: Prefabricated triangular frames used to support the roof. Trusses distribute the weight of the roof evenly across the shed's walls and are often used in larger or more complex shed designs.
Soffit and Fascia: Soffit refers to the underside of the roof overhang, while fascia is the horizontal board that runs along the edge of the roof. Both components help protect the roof structure and provide a finished appearance.
Sheathing: The Plywood or OSB (Oriented Strand Board) panels attached to the exterior frame of the shed. Sheathing provides a solid surface for attaching siding and roofing materials.
Flashing: Thin metal or plastic strips installed around roof penetrations, such as vents and skylights, to prevent water from entering the shed. Flashing is an essential component of the roof’s weatherproofing.
Anchors: Metal or concrete devices used to secure the shed to its foundation. Anchors help prevent the shed from shifting or being damaged by strong winds or other forces.
Ventilation: The system of vents or openings that allow air to circulate within the shed, preventing moisture buildup and maintaining a comfortable interior environment.
Prefab: Short for prefabricated, referring to shed components or entire sheds that are built off-site and delivered to the installation location for assembly. Prefab sheds can save time and reduce on-site construction work.
5. What to Expect When Working with Shed Installers
When hiring a shed installer for your home construction project, there are several key expectations to keep in mind:
Initial Consultation and Site Assessment: The process begins with a consultation where the installer assesses the site, discusses your needs, and recommends materials, designs, and options. They will also evaluate the site to ensure it's suitable for the shed and determine any necessary preparation work.
Design and Proposal: After the site assessment, the installer will create a design and provide a detailed proposal that includes materials, labor costs, and a timeline. The design will take into account the size, style, and function of the shed.
Permitting and Scheduling: Depending on local regulations and the size of the shed, permits may be required. The installer will help obtain the necessary permits and schedule the project, coordinating with other contractors if needed.
Construction and Installation: The construction process includes site preparation, foundation installation, framing, roofing, siding, and finishing. The installer will ensure that all components are properly assembled and that the shed is level, secure, and weatherproof.
Final Walkthrough and Handover: After construction, the installer will conduct a final walkthrough with the homeowner to inspect the shed and ensure that it meets expectations. The installer will provide any necessary maintenance instructions and finalize the project.
6. Examples of Shed Installers’ Work
a. Garden Shed with Custom Features
A shed installer constructs a custom garden shed with built-in shelving, skylights, and a Potting Bench. The shed is designed to match the style of the homeowner's house, with cedar siding, a gable roof, and decorative trim. The installer ensures that the shed is well-ventilated and equipped with ample natural light for gardening activities.
b. Storage Shed with Concrete Foundation
A homeowner requires a durable storage shed for heavy equipment and tools. The shed installer constructs a Metal Shed with a concrete foundation, ensuring it can withstand the weight of the equipment and provide long-term durability. The shed features reinforced doors and a heavy-duty locking system for security.
c. Home Office Shed with Insulation and Electricity
A shed installer is tasked with building a shed that will serve as a home office. The project includes installing insulation, drywall, windows, and electrical wiring for lighting and outlets. The shed is designed to be comfortable year-round, with proper insulation, ventilation, and energy-efficient windows.
7. Further Reading and Resources
For more information on shed installation and design, as well as understanding the materials and processes involved, consider visiting the following resources:
The Spruce - Shed Building Guide: The Spruce
Masterclass: How to Build a Shed
Family Handyman - Shed Plans and Ideas: Family Handyman
These resources provide additional insights and can help you make informed decisions when planning and executing your shed installation project.
Wrap-Up
Shed installers play a vital role in creating functional, durable, and aesthetically pleasing sheds that meet the specific needs of homeowners. By understanding the materials, tasks, tools, and terms associated with shed installation, and knowing what to expect throughout the process, homeowners can ensure that their shed project is completed to the highest standards.
Whether you’re adding a garden shed, a storage shed, or a home office, working with skilled shed installers will help you achieve a structure that enhances your property and provides the functionality you need.